"KNOWLEDGE-BASED FITNESS"
Showing posts with label stability. Show all posts

Wednesday, January 21, 2015

High Plank Modification Adds Multiple Benefits

High Plank Modification Adds Multiple Benefits
 
 
The High Plank Exercise is a great exercise that focuses on shoulder and trunk static stabilization.  There is no motion...only a timed positional hold.  This can be easily modified using a Strength On Demand Resistance Band. 
 
The following progression will challenge:
-dynamic shoulder and scapula stability on the weight-bearing arm
-strength of the postural scapular muscles, including the rear deltoids and middle traps on the moving arm's side
-rotational stability of the trunk

High Plank
Start in a high plank position anchoring the resistance band with one hand, gripping the other end of the resistance band with the opposite hand.  The closer your hands grip on the resistance band, the more difficult this technique will be, so leave some slack in the band when you first attempt.  A little bit of resistance is all you need to feel this exercise!
 
High Plank
 
high plank
While one end of the resistance band is anchored to the floor with one hand, the 'moving arm' is lifted to the side into horizontal abduction.  Here, my right arm (the anchor) remains stable (shoulder/scapula stability) while my other arm is moving out to the side (working the rear delts and middle traps).  The motion of my arm is creating rotational force on my trunk, which I must resist.  My hips and torso remain "squared-off" with the floor.  This is rotational stabilization.  This is a great progression for clients in the mid to later stages of rehabilitation from shoulder and/or lower back injuries.

Get your resistance band HERE!!


Thursday, May 15, 2014

Rotational Stability of the Trunk

Rotational Stability of the Trunk
 
When training your trunk (or core) for stability, resisting rotational forces is one complex and important aspect.  Many of the single arm activities that we do, such as the one arm kettlebell deadlift, apply a weight to one side of our body.  This asymmetrical load applies a force on our trunk, which causes it to rotate to one side (our body gives in to the weight).  To stabilize our trunk, we must fight this rotation, and remain "squared off." 
In this picture, the kettlebell in the right hand creates a trunk rotation to the left.  He must stabilize in order to keep his hips and shoulders squared off with a target in front of him
 
There are many beneficial trunk stabilization exercises.  Some are basic, while others are more complex.  Unfortunately, I have seen people in the gym performing most of them with poor technique.  Many people are in a hurry to progress themselves to the more complicated techniques before they really should.  This post will discuss some of the more popular basic trunk stability exercises, proper technique and common errors that I see each day.  It is your job as a trainer to assess your client's abilities in order to progress them properly and avoid injury. 
 
First is the Low Plank and the High Plank.  These are not focused on rotational stability but are more introductory.
Low Plank: Correct - Goal is high reps, holding each one for 5-7sec

High Plank: Correct
 
Low Plank - Incorrect:  This is not acceptable, as you can notice the hyperextension in my lower back and the protruding scapulae.  I am not maintaining stability

  Once you perfect the low and high plank, you may progress to the rotational stability exercise called the High Plank Elbow or Shoulder Tap. 
Wide Base Elbow Tap Start Position

Wide Base Elbow Tap Finish Position: Notice my hips remain "squared off" with the ground

Incorrect Wide Base Elbow Tap: I lost my rotational stability and begin turning my trunk

Progress the above rotational stabilization exercise by modifying the base of support:
Narrow Base Elbow Tap: Start Position and more aggressive due to modified base of support
 

Correct Narrow Base Elbow Tap

Incorrect Narrow Base Elbow Tap: Again notice my rising left hip - If your client is compensating like this even following your verbal and manual corrective cues, they are not ready for this yet

These are just a few of the progressions you can perform when training trunk stability.  Stay tuned for the next post which will discuss other beneficial techniques


Sunday, April 13, 2014

Benefits Of The Single Leg Deadlift

Benefits Of The Single Leg Deadlift
 
When performing the Single Leg Deadlift, in order to maximize the benefits you must perform the technique with proper form, especially upon fatigue.  I have used this exercise to train ankle and knee stability, hip stability and strength, balance, trunk rotational stability, grip and scapula control (to name a few). 
To begin the technique, place the kettlebell on the inside of the stance leg so that as you flex forward you can reach the handle with the opposite side's arm

While lowering your trunk down towards the kettlebell, you do not want to allow your trunk to rotate.  Keep your shoulders and hips 'square' with the floor.  The image directly above is incorrect, while the image below is correct

You want to maintain a straight line from your shoulder to your hip, knee and ankle.  This will help you with the hip hinge technique which protects your lower back

Lower your trunk while maintaining scapula retraction.  Keep your ears in line with your shoulders.  You lower your trunk until your hand reaches the kettlebell handle. 

 
Do Not allow your scapulae to protract or your trunk to rotate towards the kettlebell in order to "lengthen your arm" for you to more easily reach the handle.  You will need to work hard at this especially upon fatigue


Grip the handle, contract your glutes and scap retractors and return to stance
 
Finish the repetition in tall standing with glutes squeezed. Do not rush into the next repetition by not locking out in tall standing first

Monday, March 3, 2014

Side Plank Reverse Pyramid

Side Plank Reverse Pyramid
 
To build endurance of the trunk muscles in order to maintain stability for long periods of time, your focus should not be to fatigue the muscles over extended work times, but to allow short rest periods in order for the muscle oxygen levels to be restored.  One popular trunk stability exercise is the Side Plank.
Many times I see people holding the Side Plank for 30-60 seconds until their entire body is shaking and their form deteriorates.  Instead, hold each plank repetition for 5-7 seconds and then rest for a few seconds.  Then repeat.  You can use the Reverse Pyramid Russian Method, starting with 5 repetitions on the right side, then 5 on the left, then rest.  Then do 4 on each side, followed by rest, and then 3 on each side.  As you go through the pyramid, you are more likely to maintain proper form because although you are fatiguing the muscles, the reps are decreasing so you are not training to failure.    

Thursday, February 13, 2014

Bottoms Up Kettlebell Bicep Curls Using Neurogrips

Bottoms Up Kettlebell Bicep Curls Using Neurogrips
 
 
To properly perform the bicep curl, you must initiate the movement by retracting your scapulae so that your shoulders are in correct alignment.  If using a dumbbell, grip the handle tightly and flex your elbow.  Maintaining your shoulders/scapulae in proper position while performing the bicep curl helps train scapula stabilizers (isometrically), which will act as the foundation for the upper extremity movement.  With a dumbbell, the weight is distributed evenly in your hand.  However, if using a kettlebell in the bottoms up position, the weight of the bell is offset in relation to the handle that you are gripping, so the lever you are attempting to move is longer and therefore more difficult to lift.  Because of the awkward weight distribution and shape of the kettlebell, when performing the Bottoms Up Kettlebell Curl, it is much more demanding on your hand grip and forearm strength as you are trying to curl the weight, while at the same time preventing the kettlebell from moving your wrist into flexion, extension, radial/ulnar deviation, pronation or supination.   You are constantly making adjustments to your grip to control the movement of the Kettlebell.  To make it even more challenging, try this same exercise with Neurogrips.   


 In the images above, you can see how Neurogrips add thickness/diameter to the kettlebell handle.  In the picture on the left, the thumb overlaps the index finger.  In picture on the right, the thumb does not come close to the index finger.  The goal here is to control the kettlebell by "crushing" the Neurogrips around the handle.

Below is the Kettlebell Bottoms Up Curl with Neurogrips.  To initiate the curl, the shoulders/scapulae must be "set" isometrically.  Then as you curl the kettlebell, you must avoid trunk sidebending towards the side of the kettlebell as well as losing control of the "set" scapulae.  Do not let your shoulders drop or protract (roll forward).


Thursday, January 30, 2014

The Single Leg Deadlift Using Neurogrips and The Nabard Device

The Single Leg Deadlift Using Neurogrips and The Nabard Device: Ulnar Deviation Bias
 
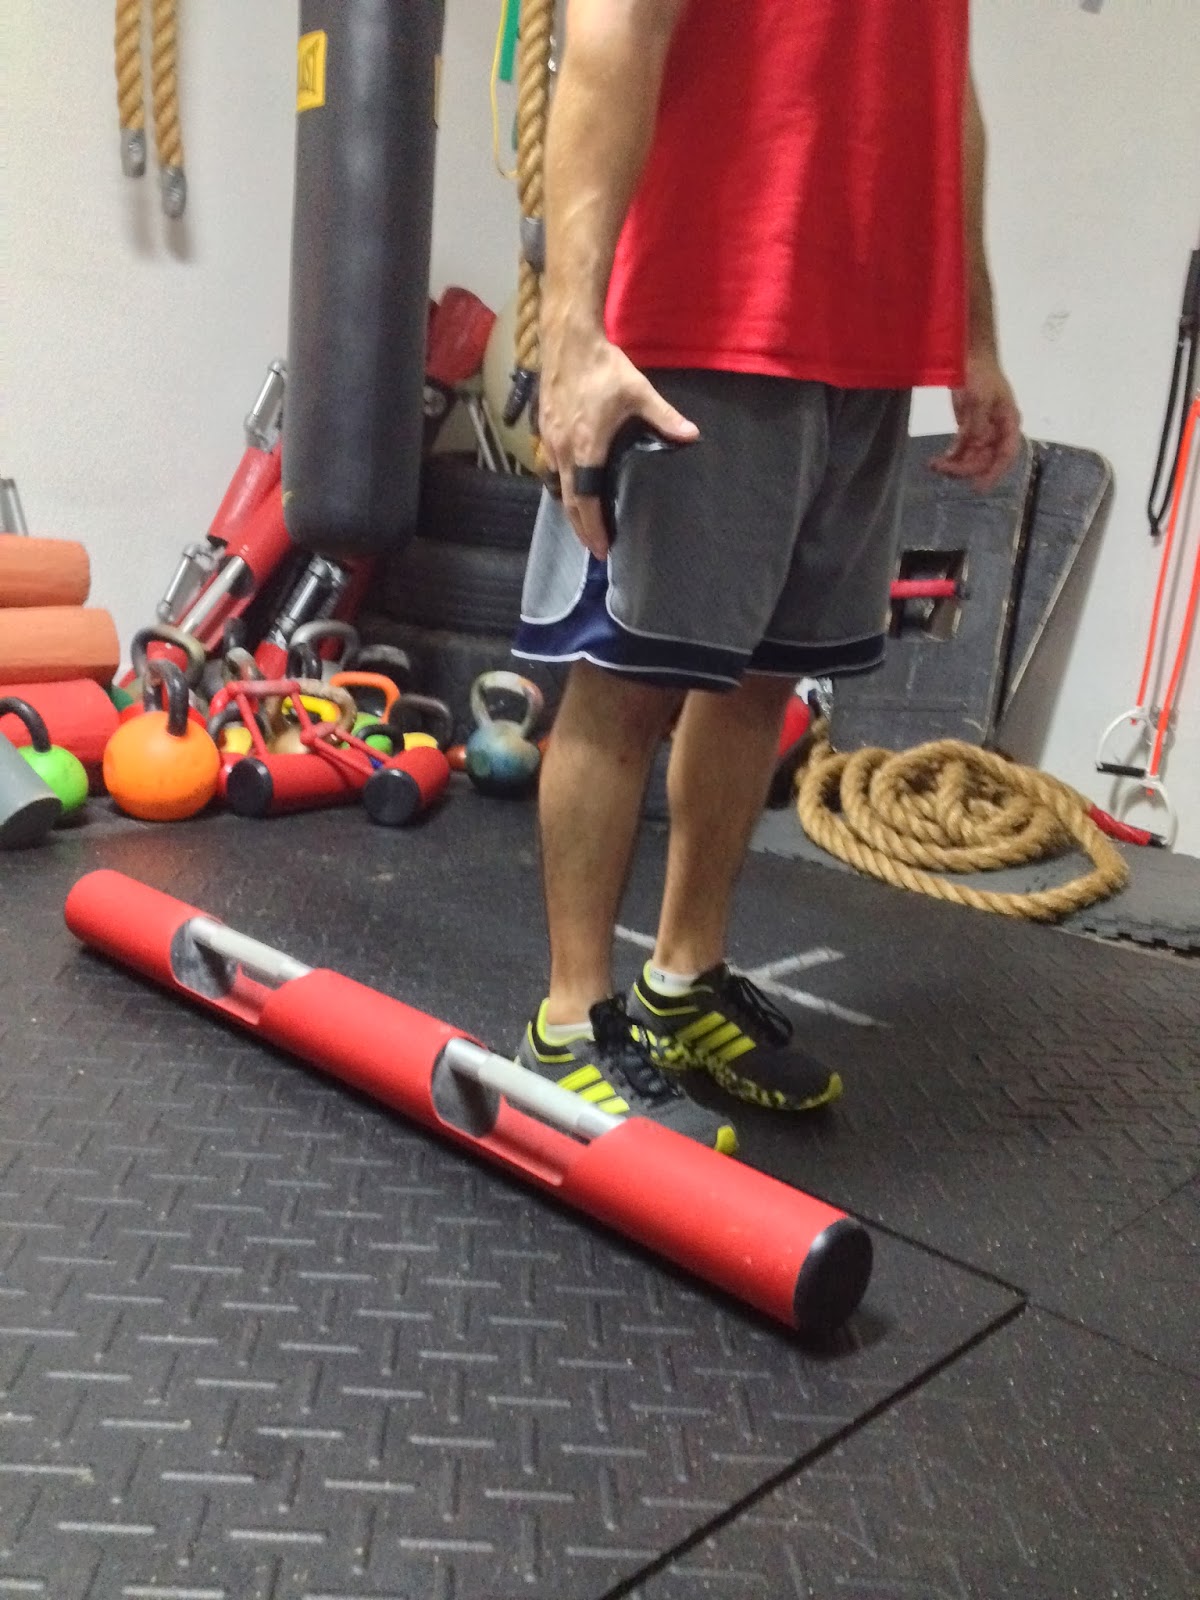
The Nabard Long Device used in this example is a device similar to a barbell.  However, the 1 inch diameter handle is offset rather than centralized.   The Neurogrips easily slide on your hand, adding 1" diameter to the Nabard Device handle, making it about 2" in diameter.  Combined with the offset handle, the Neurogrips challenge your grip and help strengthen your hand, wrist, forearm as well as your shoulder and trunk musculature.   

Place Neurogrips on the right hand.  Stand next to the Long Device (Device is closest to your right foot) so that the longer end extends behind you

Kick your right leg straight behind you, allowing your left knee to slightly bend so that your right hand can reach the handle of the Long Device.  Do not let your hips move out of the parallel position in relation to the floor (Do not let either hip rise or fall).  Contract your right gluteals to maintain full right hip extension.  Squeeze the Neurogrips around the device handle tightly.  Maintain Scapula Retraction (Do not let your shoulder blade protract toward the device to assist your reach - Maintain Scapula Stability)

Squeeze your glutes, press your left foot into the ground and stand up tall, locking your glutes at the top.  Do not allow the long end (which is now behind you) of the Nabard device to dip down.  With this, the long end is placing downward force on your hand and wrist, in the direction of radial deviation.  To maintain neutral wrist position, you must fire your ulnar deviators as well as maintain a crushing grip on the handle due to the increased diameter from the Neurogrips.  This will work your hand, wrist, forearm, elbow, shoulder and trunk musculature.  To see how much of a challenge Neurogrips provide, try one set with and the next set without the Neurogrips on.

Sunday, January 26, 2014

The Single Leg Deadlift Using Neurogrips and The Nabard Long Device

The Single Leg Deadlift Using Neurogrips and The Nabard Long Device: Radial Deviation
 
 
The Nabard Long Device used in this example is a device similar to a barbell.  However, the 1 inch diameter handle is offset rather than centralized.   The Neurogrips easily slide on your hand, adding 1" diameter to the Nabard Device handle, making it about 2" in diameter.  Combined with the offset handle, the Neurogrips challenge your grip and help strengthen your hand, wrist, forearm as well as your shoulder and trunk musculature.   
 
 
Place Neurogrips on the right hand.  Stand next to the Long Device (Device is closest to your right foot) so that the longer end extends in front of you

Kick your right leg straight behind you, allowing your left knee to slightly bend so that your right hand can reach the handle of the Long Device.  Do not let your hips move out of the parallel position in relation to the floor (Do not let either hip rise or fall).  Contract your right gluteals to maintain full right hip extension.  Squeeze the Neurogrips around the device handle tightly.

Squeeze your glutes, press your left foot into the ground and stand up tall, locking your glutes at the top.  Do not allow the long end of the Nabard device to dip down.  With this, the long end is placing downward force on your hand and wrist, in the direction of ulnar deviation.  To maintain neutral wrist position, you must fire your radial deviators as well as maintain a crushing grip on the handle due to the increased diameter from the Neurogrips.  This will work your hand, wrist, forearm, elbow, shoulder and trunk musculature.


Tuesday, January 21, 2014

The Suitcase Deadlift Using Neurogrips and Directional Force: Ulnar Deviation

The Suitcase Deadlift Using Neurogrips and The Nabard Device

 
 The Nabard Long Device used in this example is a device similar to a barbell.  However, the 1 inch diameter handle is offset rather than centralized.   The Neurogrips easily slide on your hand, adding 1" diameter to the Nabard Device handle, making it about 2" in diameter.  Combined with the offset handle, the Neurogrips challenge your grip and help strengthen your hand, wrist, forearm as well as your shoulder and trunk musculature. 

 The setup for this technique is the same as the previous post.  You stand with your foot next to the handle of the device.  This time, however, the long end of the device is behind you instead of in front of you.
 
 Squat back and down and grip the handle tightly using the Neurogrips. 
 
 
"Spread the floor" with your feet and stand up tall.  Do not allow the back end of the device to dip down.  Your job is to keep the device parallel to the ground.  The long lever posterior is providing a directional force downward, which places radial deviation on your wrist.  To maintain the neutral wrist position, you must fire your ulnar deviators.  So you are gripping the handle while at the same time performing ulnar deviation in order to maintain neutral wrist position and keep control of the device.  This is the opposite action of the previous post.

Saturday, September 3, 2011

P.R.F.C.T. ("PERFECT") TECHNIQUES: UPPER EXTREMITY BIAS

KB FITNESS or Knowledge Based Fitness presents P.R.F.C.T. (PERFECT) Techniques, which stands for Post Rehab Fitness Circuit Training Techniques.  These explanatory videos offer information for trainers and their clients on the how-to and functional benefits of many exercises, in order to guide their progression and prevent and/or recover from injuries.

The following video is the Nabard Long Device Lateral Thrust
http://youtu.be/_5tghrO5bQA


There are many benefits of this exercise, as it is a full body technique.  However, it is especially good for the upper extremity, including strengthening the shoulder, forearm, wrist and hand (grip).  This exercise provides:

1) Scapula Stabilization:  You must maintain isometrically retracted scapula when performing this, or else you risk causing shoulder injuries.  Scapular retraction is a major posture component.  So this technique will benefit posture and those clients recovering from shoulder injuries. 

2) Grip strength: With the offset handle of the device, you are forced to grip it tightly in order to control it.  Read the prior blog post on grip strength, irradiation and the homunculus for more details.  This movement also works on hand coordination and speed, as you transition from gripping the device to releasing the device frequently.

3)Core/Trunk rotation: As you increase speed of trunk rotation, you demand more from your core to control the rotation.  You should not allow the device to create rotation of your trunk.  Your trunk is what propels the device.  Maintaining core recruitment throughout the entire motion will protect your spine.

4) Dynamic stretch of the psoas: The psoas muscle is a hip flexor and is commonly tight in people with lower back issues.  When performing this exercise, the leg you are pushing off (the trailing leg) finishes in full hip extension with a gluteal contraction.  This maintains flexibility of the psoas.  If someone has a tight, symptomatic psoas/lower back, they may stop short of full hip extension and even hyperextend their lower back in order to complete the movement.  Watch for these compensations and correct them.  The hip drive you perform with this "trailing" leg during trunk rotation is a common motion in many sports.  As you become accustomed to the movement, increase the amount of hip drive.  This is a great technique to include in a athletes training program.

5) Foot speed: You must be able to adjust your weight distribution from 1 leg to the other frequently, rapidly, and safely to perform this technique.  As the demand on the upper body changes, the weight distribution on the lower extremities must also adjust in order to maintain balance and efficiency. 

So, give it a try.  Keep the upper points in mind throughout, and always move with P.E.R.F.E.C.T. Technique. 

Please help me provide you with valuable information:
1.  For those reading this blog, what type of information would be of interest to you in a rehab/fitness blog or website? 
2. What would you like to learn as a fitness/rehab professional or as someone recovering from an injury?
Questions, comments or requests, please contact me at: nicparm7777@aol.com

Join this blog to continue receiving fitness and rehab educational information

Thursday, April 14, 2011

Develop Shoulder Proprioception Part 2: Prerequisite to Kettlebells

Progressing your client from basic exercises to more challenging techniques should be a somewhat cautious task, especially with training devices that they are less accustomed to.  For example, when performing a Kettlebell Windmill or Overhead Squat, if your client does not "pack" his shoulder and maintain its stability, he may lose control of the Bell, causing injury to himself or others training in the same area.  Watch this video and try for yourself.  It is a great low risk exercise that trains your shoulder stability in 360 degrees.  You can easily adjust the resistance, and if you lose the shoulder "packed" position, there is less risk of injury.  Get your client used to this stability activity before handing him/her a Kettlebell.
http://www.youtube.com/watch?v=7c-ivj0prK0

Wednesday, April 6, 2011

Develop Shoulder Proprioception - Part 1

Proprioception is defined as the "the sense of the relative position of neighboring parts of the body."  It tells us where the various body parts are located relative to eachother.  In Physical Therapy, Proprioceptive Training is extremely important to assist a patient's recovery from joint injuries (such as rotator cuff tears or surgerical repair) as well as preventing future injuries.  If you have little control of your joints or extremities (aka poor body awareness), it is only a matter of time before you get hurt. 


When training with irregularly shaped devices such as the Kettlebell or Persian Mil, body awareness is particularly important, as these devices are more difficult to control than conventional dumbbells or barbells.  Prior to training a beginner with Kettlebells or Clubs, I would advise the basic prerequisite exercises shown in this video.  They can be used as a warm up or part of your program to maximize joint stability.

http://www.youtube.com/watch?v=hp8iOAj1Pas

Normal progression of the "tracing" exercise is:
1)Supine (lay on back) and trace small size letters/shapes with your eyes open
2)Supine and trace large letters/shapes with your eyes open
3)Seated with arm overhead, trace small and then large size letters/shapes with eyes open
4)Repeat the above order with eyes closed
Have someone give you feedback on the your ability to maintain control with your eyes open versus eyes closed
5)Progress to using the kettlebell or Mil

Tuesday, February 1, 2011

Recruit Your Core: Stage 1 of Lumbar Stabilization

http://www.youtube.com/watch?v=gGT8ckhUrE8

This video will be the first in a series of videos explaining the progression of Core Stabilization Techniques/Exercises.  You must first train your client/patient on how to engage their core and maintain its recruitment throughout an exercise in order to preserve the stability of the lower back. 
     The normal progression begins with static stability exercises in which there is no motion, just control and maintenance of one 'set' body position. 
     Next will be dynamic stabilization in which the trunk remains static, but the upper extremities are moving.  Here, the trunk is exposed to a force (developed by the moving extremities), and it must resist motion.  
     Even more difficult, the next challenge is to "control" the lower back/trunk, maintaining a 'stable' spine while moving it throughout its available range of motion.  This controlled or "stable" mobility is necessary in all sports and when performed correctly, will prevent injury.  Watch this video to get a feel of engaging your core.