"KNOWLEDGE-BASED FITNESS"
Showing posts with label forearm. Show all posts

Sunday, May 3, 2015

Train Smarter!

Train Smarter!

When trying to balance your training with work and family obligations, you may find yourself short on time.  But you figure, "something is better than nothing." So you need to train smart.  Knowing what you are training will help you to train efficiently.  So you should choose exercises wisely.  One example is the kettlebell lunge.
The 1 Arm Racked Kettlebell Lunge:

This exercise is obviously a leg exercise.  But that is not all!  You must hold the kettlebell in the racked position using one arm.  This places an asymmetric downward force on the kettlebell side of your trunk/body.  To prevent laterally "giving in" to the added weight, the opposite side of your trunk must contract to stabilize in order to maintain a neutral spine.  You must maintain grip on the kettlebell handle and not allow the shoulder blade on the side of the kettlebell to drop or protract due to the added weight either.  In all, you are training the legs, the trunk, grip and scapula stability.


Double Kettlebell Lunge:

Although you are lunging with added weight compared to the single kettlebell lunge, you do not have the asymmetric weight applied to the trunk.  So lateral stability will not be as much of an issue.  However, you must still maintain grip of each handle, prevent both scapula from protracting, and the added weight to your chest/trunk will actually make it slightly more difficult to deeply inhale during the set


To increase the challenge further, perform the Bottoms Up Kettlebell Lunge.  Here, you are working even harder to maintain control of the kettlebell handle using hand, wrist and forearm strength.  This also challenges scapula and shoulder stability on the kettlebell side, and the asymmetric weight will again require lateral trunk stability.  

So, if you want to get more bang for your buck, making slight adjustments to a traditional exercise will train more than you initially thought.  You end up training multiple regions of the body using one technique.  This is efficient training!

Wednesday, March 12, 2014

More on Forearm and Wrist Strength: Pronation and Supination

More on Forearm and Wrist Strength:
Pronation and Supination
 
 
In previous posts I spoke about forearm, wrist and hand grip strengthening in the direction of elbow flexion (Bottoms Up Bicep Curl), wrist flexion and extension, and wrist radial and ulnar deviation both dynamically and statically with the focus on maintaining wrist stability while a resistance is applied at a certain direction.  Today I will discuss training forearm pronation and supination. 
 This photo is of my hand, wrist and forearm in the neutral position holding a dumbbell
 This photo is of my hand moving into the pronated position

 This is a photo of my hand in the supinated position
 
Moving from neutral to pronation and back to neutral holding the weight in this manner is training the supinators
 
        
Moving the weight from neutral to the supinated position and back to neutral is training the pronators 

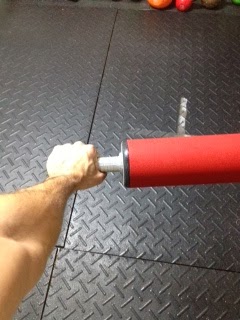
 To make the above exercises more challenging, just increase the length of the lever you are trying to move (Here I use a Persian Mil) - Neutral Position

Pronated Position
 
 
Supinated Position
 
To add even more of a challenge, add thickness to the handle using Neurogrips.  This will challenge your grip as well as your forearm strength

Neutral Position Using Neurogrips


Pronated Position Using Neurogrips
 
Supinated Position Using Neurogrips

 And now to challenge your grip and forearm muscle endurance... Maintain a static position of your hand, wrist and forearm while a pronation or supination force is applied:
 Here, the Persian Mil apply a force in the direction of forearm supination and in order to prevent any motion, the pronators must contract isometrically while I perform kneeling rear delt lifts

Here, the Persian Mil apply a force in the direction of forearm pronation and in order to prevent any motion, the supinators must contract isometrically while I perform kneeling rear delt lifts
 
Try the above progressions to further improve your grip strength


Saturday, February 15, 2014

Tips For Neurogrips

Tips For Neurogrips
 
 
Here are some things to keep in mind when using Neurogrips.
 
1)
Neurogrips are not used alone like the traditional hand grip trainers, but are used with other pieces of fitness equipment, both standard and non-standard that can be gripped with your bare hands.  These include barbells, dumbells, cable attachments, therapy tubing, kettlebells, Indian Clubs, Persian Mil, sledgehammers, ropes, suspension trainers, sleds, etc....  
 
2)


Once you put on the Neurogrips, the finger webbing is used simply to keep the grips attached to your hands for comfort and for the convenience of decreasing the chance of losing them while moving from one exercise to the next.  As everyone's hand may be a different size, the Neurogrips only need to span the gripping area between the hand and the handle that you are attempting to grip in order to increase the thickness/diameter by approximately 1 inch. 
 
3)
 
Straight out of the packaging, Neurogrips may feel slightly stiff.  But as was stated above, they are not meant to be used alone like hand grippers.  You do not put them on and try to squeeze them in order to train your grip.  You put them on, then place your hands with the Neurogrips onto the handle of the fitness device that you are going to lift.  By doing this, Neurogrips will easily wrap around the handle, and you must "CRUSH" the Neurogrips on the handle to truly feel the grip benefits.  This is true functional grip training. 

4)

No open hand or false grip if you want to maximize your grip.   You will still be challenged with your grip, but you want to include your thumbs.
 
 For the full benefit, make sure you include your thumbs when gripping the device
  
Because Neurogrips are compressible, it allows you to adjust your grip throughout each repetition, particularly during explosive exercises like the kettlebell Snatch so that you can control the speed of the kettlebell as it moves around your wrist.  Just like bare hand training, once you place your hand on the handle, you may want to make adjustments to your hand until you feel comfortable enough to make the lift.  When using Neurogrips, you may want to make the same minor adjustments to the Neurogrips prior to crushing the handle and making the lift.  The more you train with the Neurogrips, the more they will contour to your hand and the less adjustments you will feel the need to make during your training.  They will become an extension of your hand. 

You can see in the following pictures, that although there is a specific "thumb" region of the Neurogrips, when gripping a particular device, your hand/thumbs may not exactly match up with that area of the Neurogrips.  This does not matter, as the Neurogrips encompass the entire handle of the device.  No matter where your thumb lies, you will be compressing a larger diameter/thickness handle. 


In the picture below, I exaggerate the position of my thumb to be completely off the "thumb section" of the Neurogrips.  But because the Neurogrips encompass the handle, I still must use my thumb to compress the larger diameter.  The grip challenge created by Neurogrips remains, no matter where the thumb is (unless you use a false or open hand grip) 


Like any other new training technique, you may initially want to slowly add Neurogrips into your program.  As is with anything, if you are not used to doing something, and you all of a sudden do it repetitively, you may feel sore.  I advise trying one set with Neurogrips and the next without them so that you can feel the difference.  You will notice that the set without Neurogrips is much easier than when using Neurogrips, and in time what was once a challenge to lift bare-handed, will seem much  easier. 

Thursday, January 30, 2014

The Single Leg Deadlift Using Neurogrips and The Nabard Device

The Single Leg Deadlift Using Neurogrips and The Nabard Device: Ulnar Deviation Bias
 
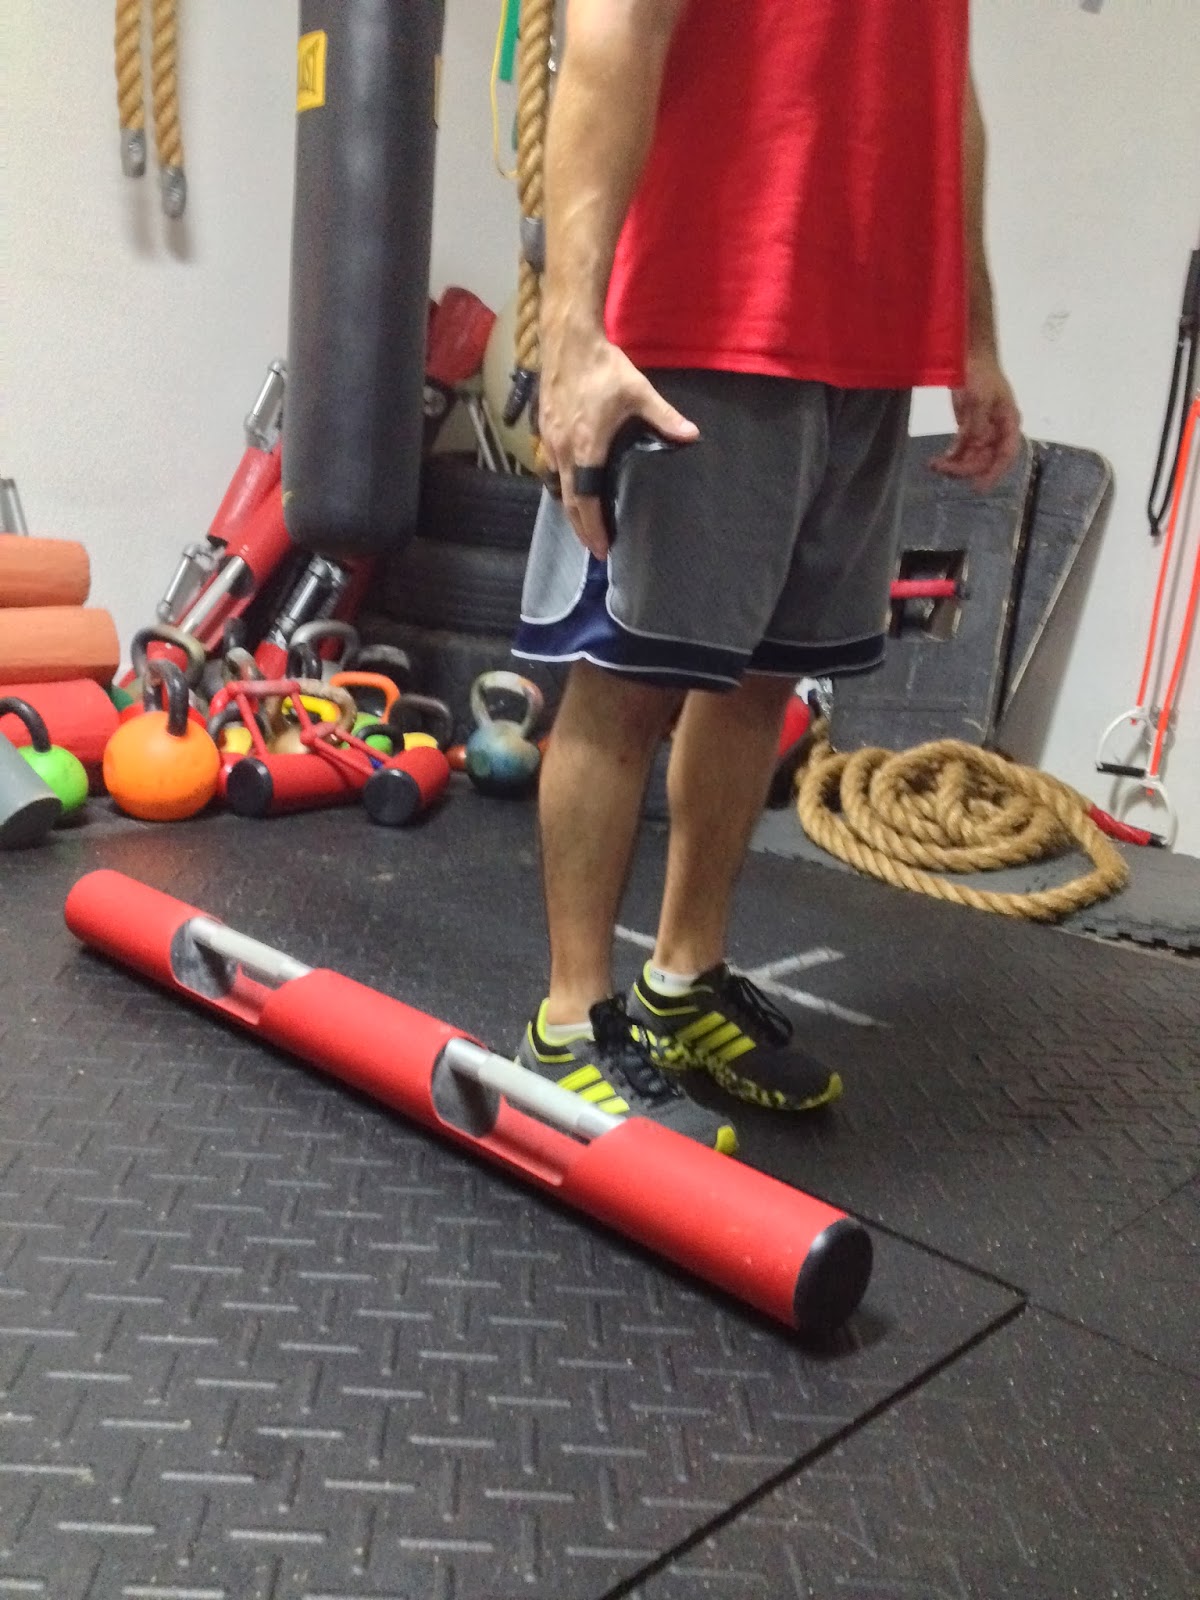
The Nabard Long Device used in this example is a device similar to a barbell.  However, the 1 inch diameter handle is offset rather than centralized.   The Neurogrips easily slide on your hand, adding 1" diameter to the Nabard Device handle, making it about 2" in diameter.  Combined with the offset handle, the Neurogrips challenge your grip and help strengthen your hand, wrist, forearm as well as your shoulder and trunk musculature.   

Place Neurogrips on the right hand.  Stand next to the Long Device (Device is closest to your right foot) so that the longer end extends behind you

Kick your right leg straight behind you, allowing your left knee to slightly bend so that your right hand can reach the handle of the Long Device.  Do not let your hips move out of the parallel position in relation to the floor (Do not let either hip rise or fall).  Contract your right gluteals to maintain full right hip extension.  Squeeze the Neurogrips around the device handle tightly.  Maintain Scapula Retraction (Do not let your shoulder blade protract toward the device to assist your reach - Maintain Scapula Stability)

Squeeze your glutes, press your left foot into the ground and stand up tall, locking your glutes at the top.  Do not allow the long end (which is now behind you) of the Nabard device to dip down.  With this, the long end is placing downward force on your hand and wrist, in the direction of radial deviation.  To maintain neutral wrist position, you must fire your ulnar deviators as well as maintain a crushing grip on the handle due to the increased diameter from the Neurogrips.  This will work your hand, wrist, forearm, elbow, shoulder and trunk musculature.  To see how much of a challenge Neurogrips provide, try one set with and the next set without the Neurogrips on.

Sunday, January 26, 2014

The Single Leg Deadlift Using Neurogrips and The Nabard Long Device

The Single Leg Deadlift Using Neurogrips and The Nabard Long Device: Radial Deviation
 
 
The Nabard Long Device used in this example is a device similar to a barbell.  However, the 1 inch diameter handle is offset rather than centralized.   The Neurogrips easily slide on your hand, adding 1" diameter to the Nabard Device handle, making it about 2" in diameter.  Combined with the offset handle, the Neurogrips challenge your grip and help strengthen your hand, wrist, forearm as well as your shoulder and trunk musculature.   
 
 
Place Neurogrips on the right hand.  Stand next to the Long Device (Device is closest to your right foot) so that the longer end extends in front of you

Kick your right leg straight behind you, allowing your left knee to slightly bend so that your right hand can reach the handle of the Long Device.  Do not let your hips move out of the parallel position in relation to the floor (Do not let either hip rise or fall).  Contract your right gluteals to maintain full right hip extension.  Squeeze the Neurogrips around the device handle tightly.

Squeeze your glutes, press your left foot into the ground and stand up tall, locking your glutes at the top.  Do not allow the long end of the Nabard device to dip down.  With this, the long end is placing downward force on your hand and wrist, in the direction of ulnar deviation.  To maintain neutral wrist position, you must fire your radial deviators as well as maintain a crushing grip on the handle due to the increased diameter from the Neurogrips.  This will work your hand, wrist, forearm, elbow, shoulder and trunk musculature.


Tuesday, January 21, 2014

The Suitcase Deadlift Using Neurogrips and Directional Force: Ulnar Deviation

The Suitcase Deadlift Using Neurogrips and The Nabard Device

 
 The Nabard Long Device used in this example is a device similar to a barbell.  However, the 1 inch diameter handle is offset rather than centralized.   The Neurogrips easily slide on your hand, adding 1" diameter to the Nabard Device handle, making it about 2" in diameter.  Combined with the offset handle, the Neurogrips challenge your grip and help strengthen your hand, wrist, forearm as well as your shoulder and trunk musculature. 

 The setup for this technique is the same as the previous post.  You stand with your foot next to the handle of the device.  This time, however, the long end of the device is behind you instead of in front of you.
 
 Squat back and down and grip the handle tightly using the Neurogrips. 
 
 
"Spread the floor" with your feet and stand up tall.  Do not allow the back end of the device to dip down.  Your job is to keep the device parallel to the ground.  The long lever posterior is providing a directional force downward, which places radial deviation on your wrist.  To maintain the neutral wrist position, you must fire your ulnar deviators.  So you are gripping the handle while at the same time performing ulnar deviation in order to maintain neutral wrist position and keep control of the device.  This is the opposite action of the previous post.

Saturday, January 18, 2014

Suitcase Deadlift With Nabard Long Device

Suitcase Deadlift With Nabard Long Device & Neurogrips
 
The Nabard Long Device used in this example is a device similar to a barbell.  However, the 1 inch diameter handle is offset rather than centralized.   The Neurogrips easily slide on your hand, adding 1" diameter to the Nabard Device handle, making it about 2" in diameter.  Combined with the offset handle, the Neurogrips challenge your grip and help strengthen your hand, wrist, forearm as well as your shoulder and trunk musculature. 
 Set up is the same as the Suitcase Deadlift using the Kettlebell.  Stand with the 'rear' handle just lateral to your foot.  Place the Neurogrip on the hand that is nearest to the handle that you will be gripping.
 
 
Squat back and down keeping your knees in line with your toes, your weight on your heels, "spreading the floor" with your feet.  Grip the handle of the device closest to your foot.

Stand up, again "spreading the floor" with your feet.  Try your best to maintain the Nabard device in a straight line, parallel to the floor.  This is where your grip is really challenged.  The length of the Nabard device acts as a long lever.  It is not a high weight, however it is difficult to manage due to the long lever.  This lever is providing a force in the direction of ulnar deviation (the end of the device furthest from you wants to dip down toward the ground.  This direction is toward the pinky or ulnar deviation).  Since your goal is to keep it level, you must fire your radial deviator muscles.  So in this activity, you are working your legs, glutes, and trunk stabilizers as it is unilateral.  Adding weight to one side causes your trunk to laterally flex toward the weight.  Your trunk must fight this and remain stable.  As for your arm, you are not only squeezing the handle using Neurogrips (now 2" diameter), you are keeping your wrist in neutral by firing radial deviators to counteract ulnar deviation directional force of the long levered device.  Your shoulders and scapulae do not move, so you are also working scapula and shoulder stabilizers.  A full body activity!!


Tuesday, January 14, 2014

The Single Leg Kettlebell Deadlift With Neurogrips


The Single Leg Kettlebell Deadlift With Neurogrips
 
 
The Kettlebell used in this example has a handle that is approximately 1.25" to 1.5" in diameter.  The length of the handle is about 4.5" with curved corners ("Horns") which makes it difficult for other grip enhancing devices to fit over.  The Neurogrips easily slide on your hand, adding 1" diameter to the Kettlebell handle, making it between 2.25" and 2.5" in diameter.  This challenges your grip and helps strengthen your hand, wrist, forearm as well as your shoulder and trunk musculature. 
 
The Single Leg Kettlebell Deadlift is great for balance as well as gluteal recruitment, trunk stabilization, scapula stability, grip and mental focus. 


Start with the kettlebell on the inside border of your left foot.  Kick your right foot/leg straight back behind you keeping the leg as straight as possible.  As you 'reach' your right foot back, you are hinging your trunk forward over the left hip.  Tighten the glutes on the right side as your upper body reaches its lowest forward position (just as your hand reaches the kettlebell handle).  Your right foot/ankle should be in line with your right hip and right shoulder.
 
Remember:
1) Keep your hips/pelvis bones and shoulders parallel/squared off to floor.  Do not twist/rotate your trunk as you descend or ascend.  One hip or shoulder should not be higher than the other
2) You may slightly bend the stance leg knee (in this example, the left knee)
3) Do not reach for the kettlebell with your right arm by protracting your shoulder blade.  Keep your shoulder blades retracted, shoulders parallel to the ground and grip the kettlebell handle only when your hand reaches it (arms length away).  In otherwords, don't perform the deadlift technique for a very minimal depth and then stretch down with your arm to grip the  kettlebell handle in order to minimize the deadlift motion.   Do not lose your scapula stability. 

Tighten the glutes on the stance side (left leg) to assist your return to upright standing.  Lock out in the upright position by clenching your glutes
Switch to standing on the right leg and reaching for the kettlebell with the left hand.
 
Using Neurogrips increases the grip demand as well as the mental concentration needed to perform this activity.  Do not fall into the habit of quickly dropping down, grabbing the kettlebell and standing up.  For full benefit, you must raise the free leg back in a straight line as if reaching the wall behind you.  Upon reaching the kettlebell with your hand, ensure that your raised leg remains straight and in line with your hip, trunk and shoulder.  Squeeze the kettlebell handle tightly with the Neurogrips.  Upon arising, contract the stance side's glutes and make sure to maintain the scapula retraction.  Avoid any type of trunk rotation throughout. 
 
The kettlebell in this technique is again providing a vertical force to your hand, wrist, forearm, and shoulder.   There is no directional bias here towards wrist flexion, extension, radial deviation, ulnar deviation, pronation or supination.  Your wrist remains in neutral and your hand is working hard to grip the kettlebell, preventing it from falling vertically from your hand.  Doing this bare handed is a challenge in itself.  Using Neurogrips makes it even more difficult.   Although the kettlebell is not providing a directional bias to your hand, wrist and forearm, because it is a unilateral exercise, it is providing a rotational force as well as a lateral force to your trunk.  You must fight these directional forces to your trunk by maintaining proper posture.  Therefore, you are training trunk and scapula stability.  Go to www.neurogrips.com for more grip information.