

The Single Leg Deadlift Using Neurogrips and The Nabard Device: Ulnar Deviation Bias


The Nabard Long Device used in this example is a device similar to a barbell. However, the 1 inch diameter handle is offset rather than centralized. The Neurogrips easily slide on your hand, adding 1" diameter to the Nabard Device handle, making it about 2" in diameter. Combined with the offset handle, the Neurogrips challenge your grip and help strengthen your hand, wrist, forearm as well as your shoulder and trunk musculature.
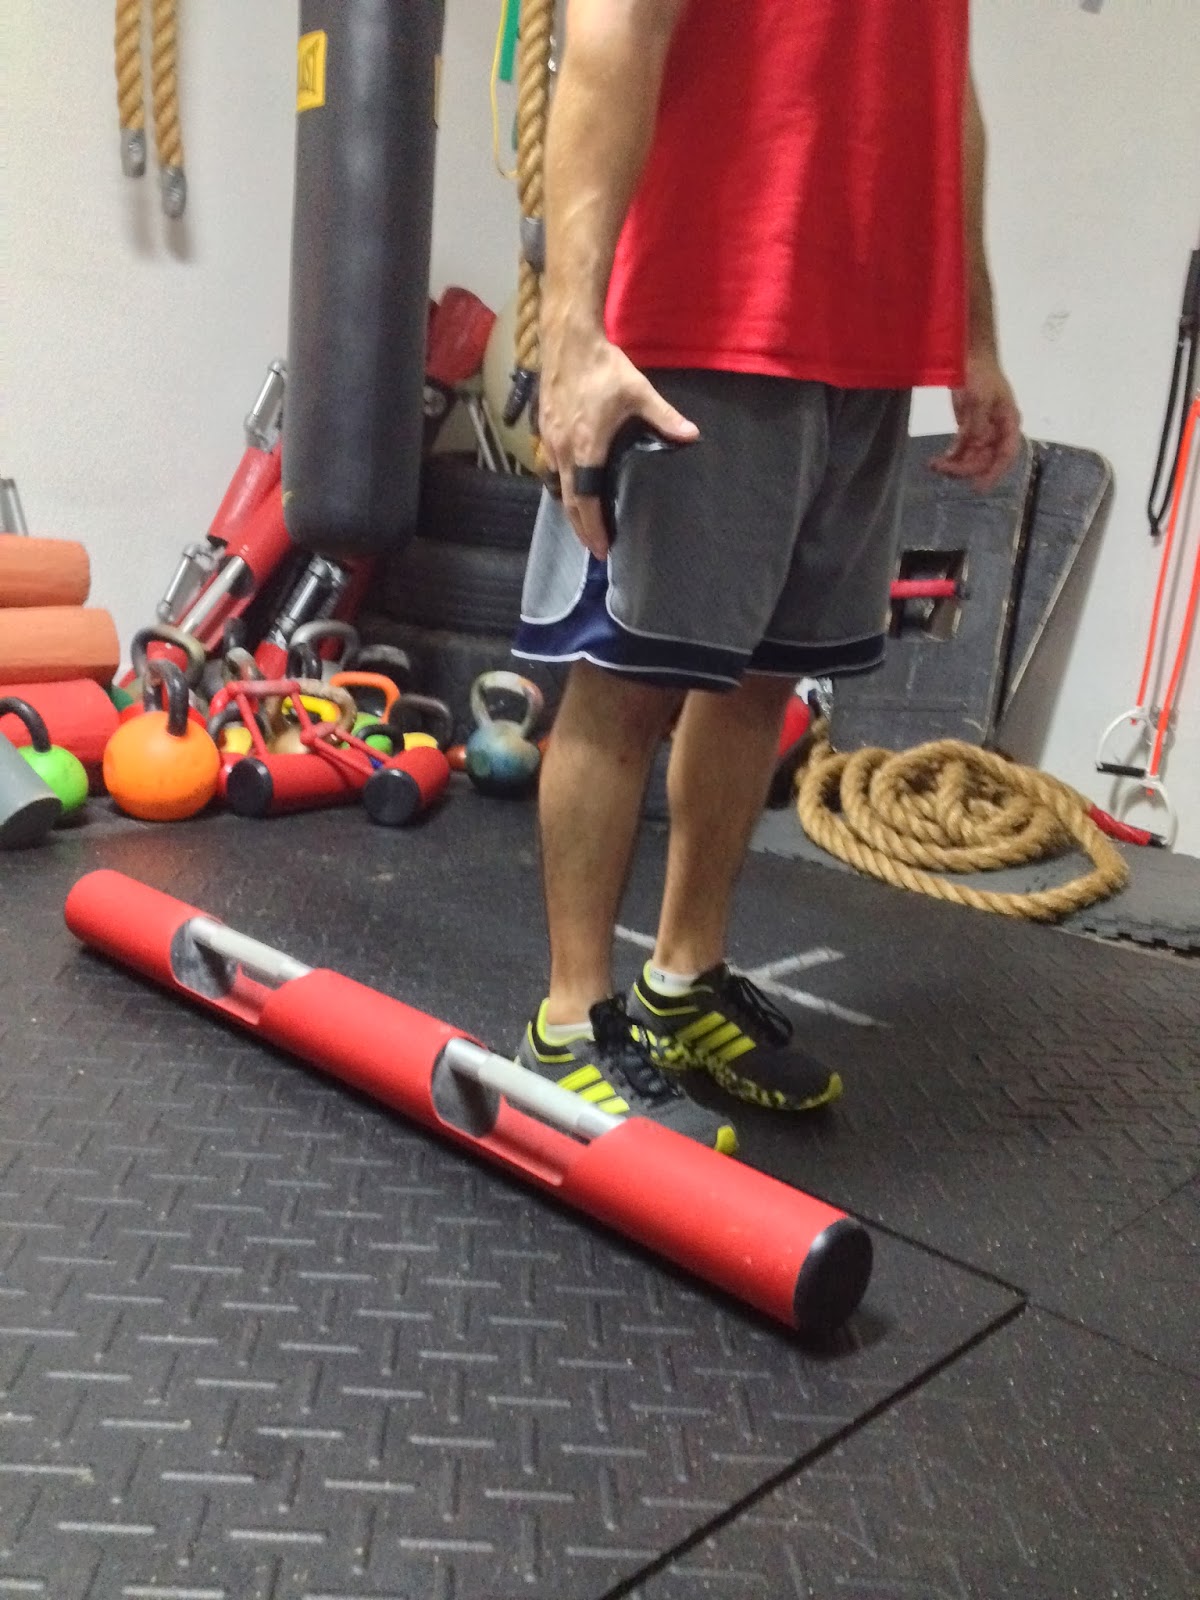
Place Neurogrips on the right hand. Stand next to the Long Device (Device is closest to your right foot) so that the longer end extends behind you
Kick your right leg straight behind you, allowing your left knee to slightly bend so that your right hand can reach the handle of the Long Device. Do not let your hips move out of the parallel position in relation to the floor (Do not let either hip rise or fall). Contract your right gluteals to maintain full right hip extension. Squeeze the Neurogrips around the device handle tightly. Maintain Scapula Retraction (Do not let your shoulder blade protract toward the device to assist your reach - Maintain Scapula Stability)
Squeeze your glutes, press your left foot into the ground and stand up tall, locking your glutes at the top. Do not allow the long end (which is now behind you) of the Nabard device to dip down. With this, the long end is placing downward force on your hand and wrist, in the direction of radial deviation. To maintain neutral wrist position, you must fire your ulnar deviators as well as maintain a crushing grip on the handle due to the increased diameter from the Neurogrips. This will work your hand, wrist, forearm, elbow, shoulder and trunk musculature. To see how much of a challenge Neurogrips provide, try one set with and the next set without the Neurogrips on.


